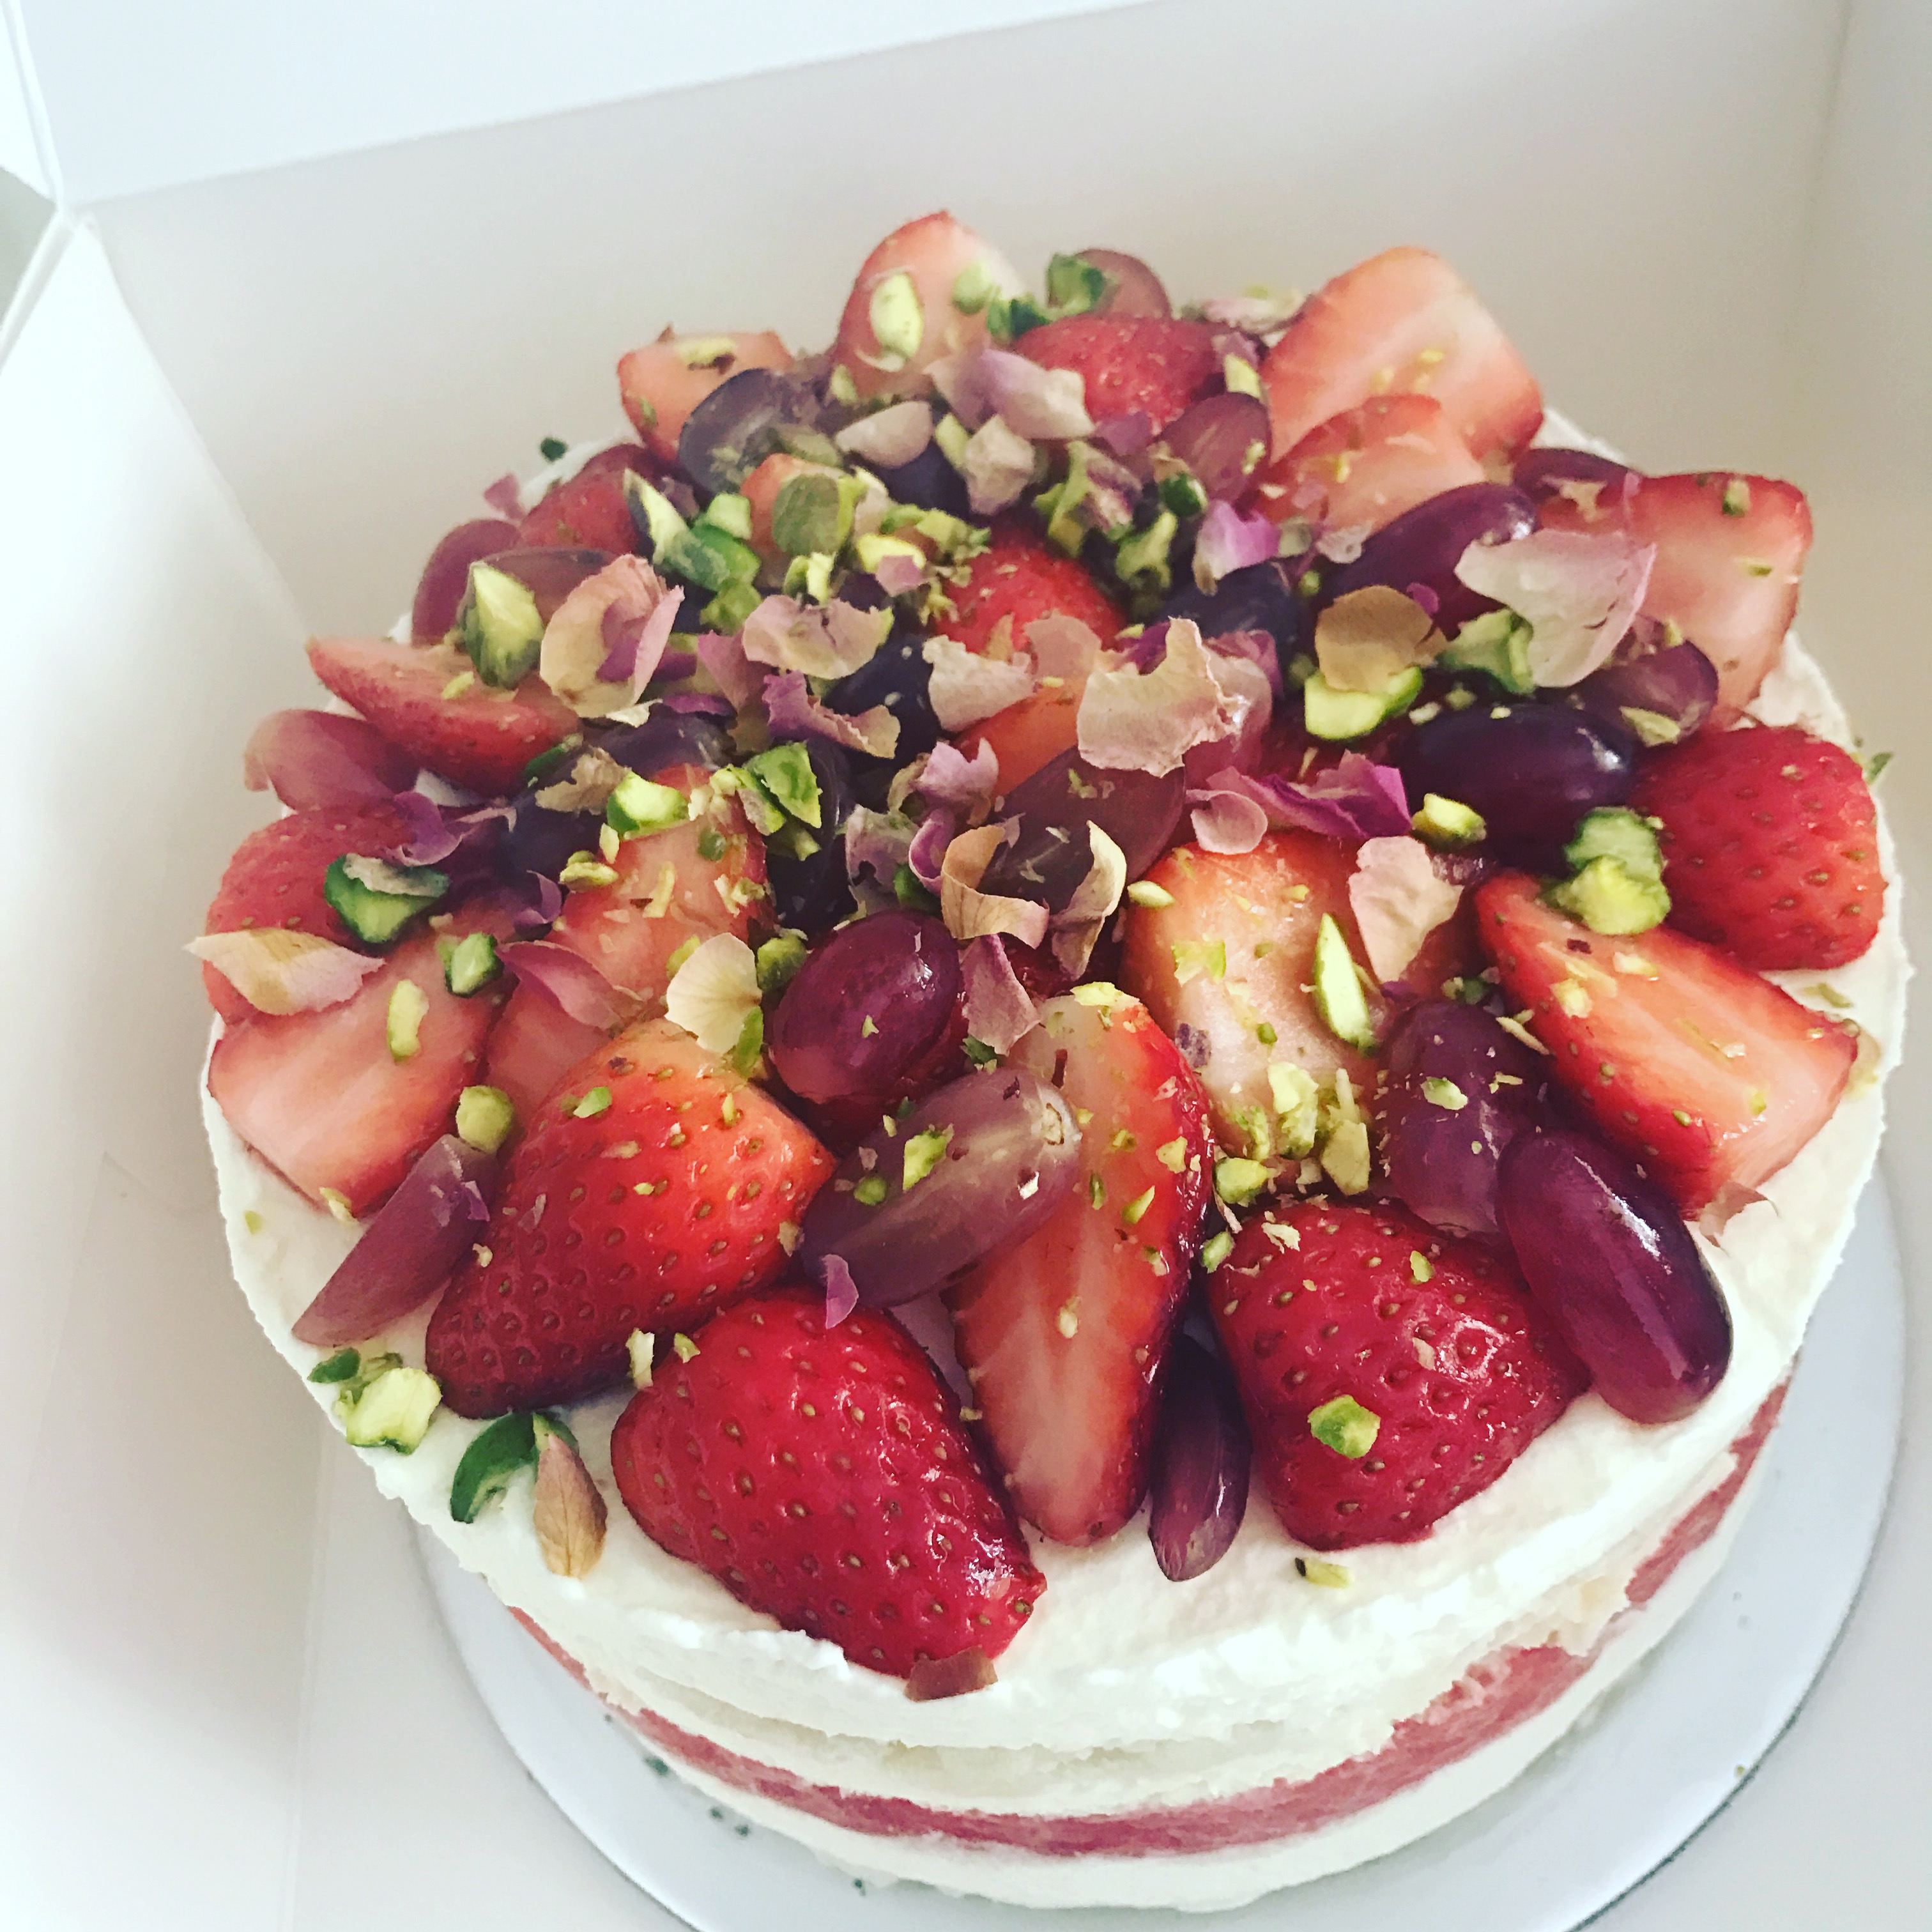
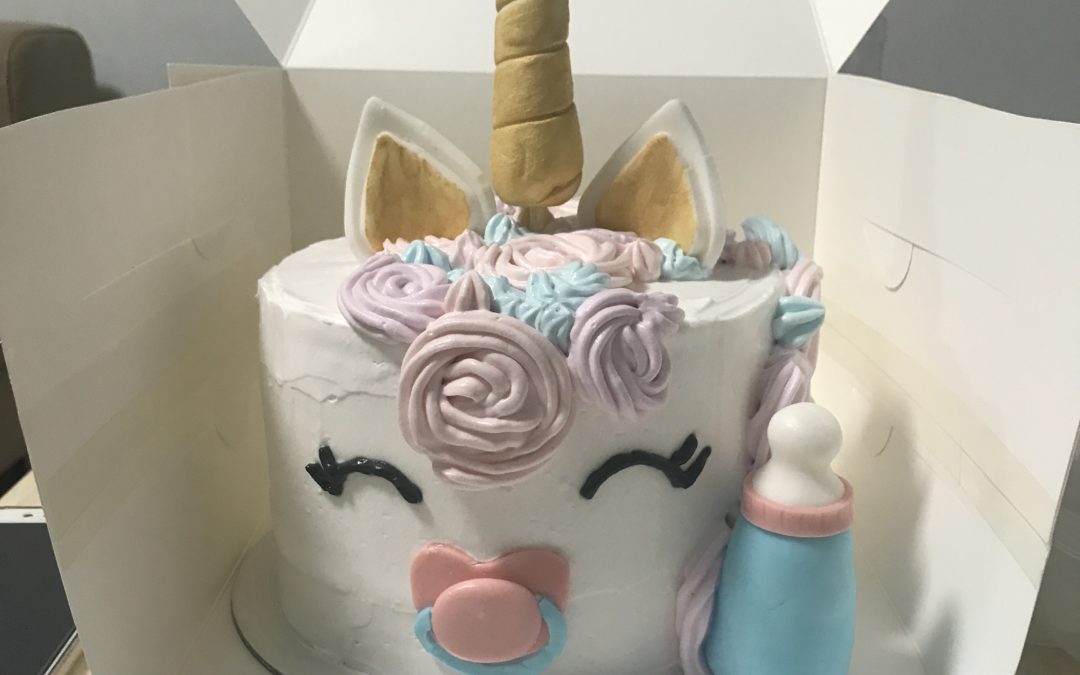
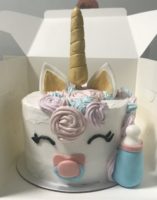
So good friend, E wanted to bake a unicorn cake for her little girl who was turning one. I made sure to check that it was not a big party before agreeing to help because I did not want to spoil a one year old birthday cake. It turned out pretty okay except for a few hiccups, which I will write at the bottom for you to avoid.
Ingredients
For the sponge layers
- 290g top flour
- 200g castor sugar
- 30g corn flour
- 1/2 tsp salt
- 300g unsalted butter
- 130g fresh milk
- 10 eggs separated
- 2 whole eggs
For the Stabilised Whipped Cream
- 2 tsp gelatin powder
- 8 tsp cold water
- 2 cups cold whipping cream
- 1 tsp vanilla extract
- 1 tbsp icing sugar (I used to omit, but I read that this will help to give the whipped cream more structure.)
For assembly
- 1 Mango (slice thinly)
- Gum paste decorations (shaped few days in advance)
- Piping bags
- Various piping tips
- Paste colourings (I used pastel colours)
Method
For the sponge cake
- Preheat the oven at 160 degrees and line the base of the bake pan with baking paper and wrap the bottom of the pan with aluminium foils.
- Sift the top flour, corn flour and salt together and set aside.
- Heat the butter in the milk over medium heat till warm, but not boiling.
- Take the melted butter mixture off the heat and add the sifted flour mixture all at once to the butter mixture and stir to combine using a hand whisk.
- Add the egg and the egg yolks and whisk till smooth.
- In another bowl (I used an electric mixer with a balloon whisk attachment), whisk the egg whites (meringue) till foamy and add the castor sugar, a tablespoon at a time, beating till firm peaks.
- Add one third of the meringue to the egg and butter batter and mix using the balloon hand whisk. You don’t have to be too gentle at this point. This step is to make the consistency of the batter more similar to that of the meringue to allow for easier combining.
- Using a spatula, fold the remaining meringue gently into the batter until combined.
- Pour the batter into the prepared cake pan and place the cake pan which is lined with the aluminium foil in a tray of boiling water (au bain marie) and bake in the oven for about 45 minutes.
- You can test the readiness of the cake by inserting a skewer into the middle of the cake and if the skewer comes out clean, the cake is baked.
- Take the cake out off the oven and cool inverted or if you see the cake pulling away from the sides of the cake pan, you can remove from cake pan and cool the cake upright.
For the stabilised whipped cream
- Put the water in a small saucepan and sprinkle gelatin powder on top and let the mixture sit for about 5 minutes.
- Melt the gelatin in the water over low heat until fully melted.
- Whip the cold whipping cream together with the icing sugar till medium peak.
- Pour the cooled gelatin liquid slowly into the whipped cream and whisk till stiff peak.
- Fold the vanilla extract into the stabilised whipped cream and chill for use later.
To assemble
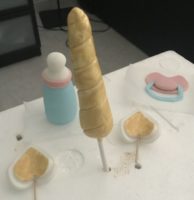
- Colour white gum paste and cut into desired shapes. For tutorials on how to get the horns, ears and even eyes, please see video. For the milk bottle and pacifier, I shaped the gum paste based on a picture sent by my friend.
- Cut the cakes into desired number of layers, I baked the cake in 2 tins and was able to get 4 layers, but I only used 3 layers for the cake.
- Place the first layer of cake on a cake board and pipe cream on top.
- Add mango on top and place another layer of cake on top.
- Repeat steps 3 and 4 and top off with the final layer.
- Use the stabilised whipping cream to crumb coat the cake and leave to chill in freezer for about 15 minutes.
- Frost the cake as neatly as possible and leave to chill in fridge while you prepare the coloured frosting (stabilised whipped cream).
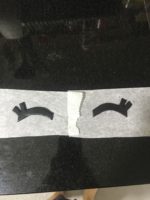
- I coloured the frosting purple, pink and blue, all in pastel shades. I also coloured a little of the frosting black for the eyes, but will not do this again because the colour ran. In the end, I had to use gum paste cutouts to replace the ruined eyes.
- When the frosting is ready and the cake chilled, use various piping tips to pipe rosette and stars for the mane of the unicorn cake.
- When the mane is done, add the horn, ears, pacifier and milk bottle.
- Lastly, add the eyes and the unicorn cake is done.
Possible hiccups to avoid
- The stabilised whipped cream may not be able to give a smooth finish because it does not have the consistency like a buttercream. I would try another one using cream cheese frosting soon.
- Also, add sugar to the stabilised whipped cream if you are thinking of using it because the sugar will help to give the soft cream more structure.
- Colour may run should you use dark colours like black. The original eyes for the cake I made was black cream and the colour ran the next day, so it will be advisable to use gum paste instead.
The unicorn cake fever seems to be burning still and I’ll try using cream cheese frosting instead. I had fun making this cake and having some girly bonding session with easy going E. We all know how nerve wrecking it can be to bake a cake for an important occasion, but E is all chill and hence less the pressure. Would I do this again? Why not? We had fun laughing at how noob we were at piping rosettes and held our breaths when we bravely piped on the eyes, only to fall back on the floor in relief when the piped eyes weren’t too off.
And for the record, this is a unicorn with a cute pacifier. Ain’t no piggy with an adorable nose. *rolls eyes.*